
Chocolate Icebox Cake

Without a doubt, the Chocolate Icebox Cake is a dessert that stands out for both its simplicity and decadence. With layers of luscious cream cheese filling, bittersweet chocolate ganache, and crunchy Oreo cookies, every bite is a delightful experience. It’s a no-bake dessert that beckons you with its creamy texture and rich flavors—a treat that satisfies chocolate cravings without the fuss of baking.
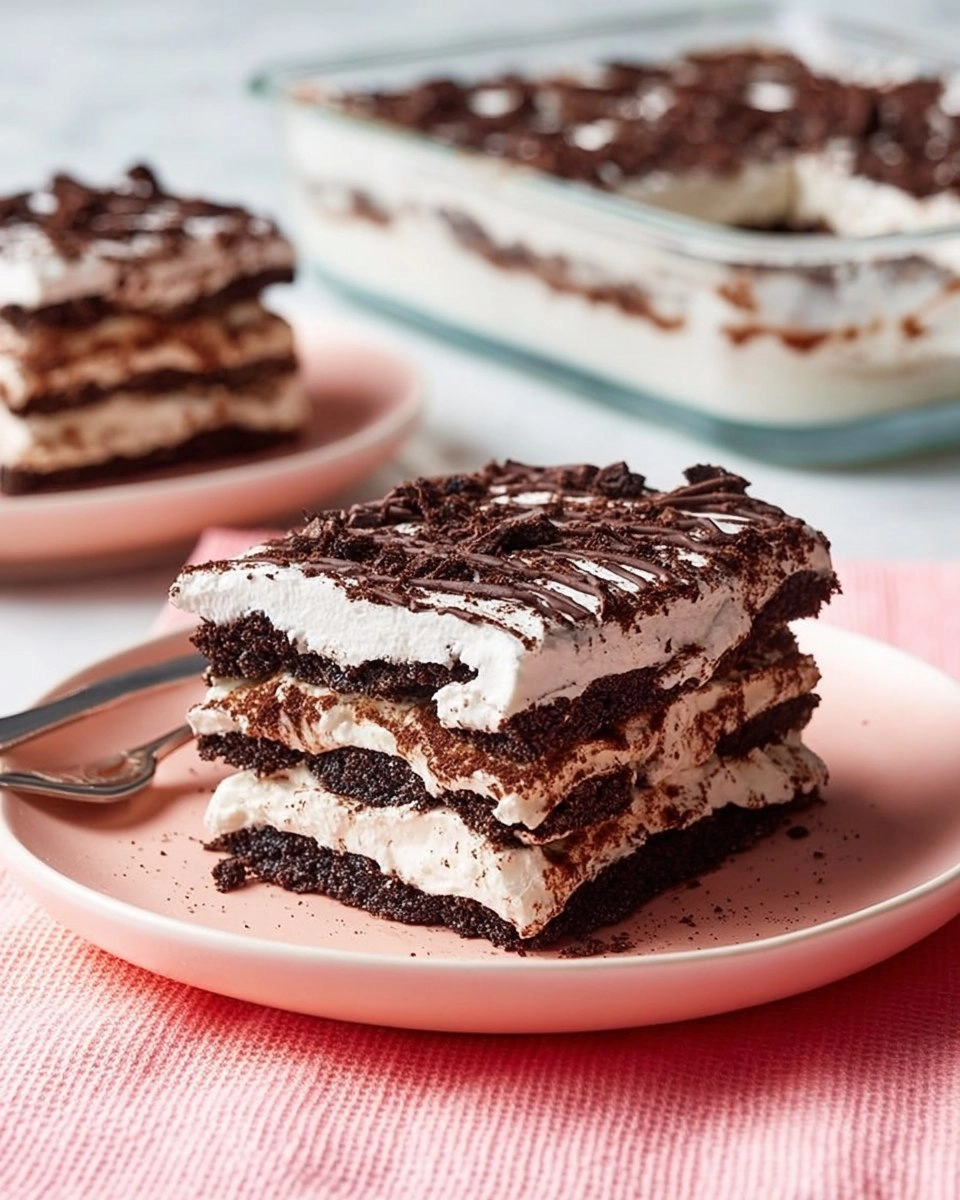
I first encountered this winner of a recipe at a summer gathering. It was a sweltering day, and the idea of a baked dessert felt utterly exhausting. Yet, this chilled chocolate delight was the perfect solution—rich, yet light enough to make you reach for seconds. Each layer complements the next, creating a dessert that’s as visually striking as it is delicious. I’m excited to share this recipe with you and hope you enjoy making it too.
Table of Contents
Why You’ll Love This Recipe
- Simple & Quick: With just 45 minutes of prep and no oven required, you can delight in this delicious dessert in no time!
- Irresistible Flavor: The combination of creamy filling and crunchy chocolate cookies creates a truly indulgent experience.
- Eye-Catching Appeal: This cake looks stunning with its layered design, making it a perfect centerpiece for gatherings or celebrations.
- Flexible Serving: Perfect for any occasion—an afternoon treat, summer BBQ, or holiday dessert.
- Diet-Friendly Options: Easily adaptable for gluten-free diets by using gluten-free Oreos.
Ingredients You’ll Need
- 1 cup (6 oz/170 g) finely chopped bittersweet chocolate: For a deep, rich chocolate flavor; high-quality chocolate yields the best results. Dark chocolate can be a good substitute if you prefer a bolder taste.
- ¾ cup (6 fl oz/180 ml) heavy whipping cream: Essential for creating a light and airy whipped filling; don’t use light cream as it won’t whip well.
- 1 cup (8 oz/225 g) cream cheese, softened: This adds creaminess to the filling. Make sure it’s at room temperature for smooth blending.
- 1 ½ cups (12 fl oz/360 ml) heavy whipping cream: Used in the filling to create a fluffy texture. Again, avoid light cream for the best results.
- ¾ cup (3 oz/85 g) powdered sugar, sifted: This sweetens the cream and helps achieve the right consistency; sift it first to eliminate lumps.
- 1 teaspoon vanilla extract: A must for flavor depth; you can use pure vanilla for the best taste.
- 24 Oreos: The classic cookie base that adds crunch and flavor. You can substitute with another chocolate wafer cookie if you’re feeling adventurous.
How to Make Chocolate Icebox Cake
Prepare the Ganache: Place 1 cup of finely chopped bittersweet chocolate in a small heatproof bowl. In a small saucepan, heat ¾ cup of heavy whipping cream over medium heat until it begins to simmer. Carefully pour the hot cream over the chocolate and let it stand for about 5 minutes to melt. Stir gently until the mixture is fully emulsified and smooth, then allow it to cool to room temperature.
Make the Filling: In a stand mixer or using a handheld mixer, whip 1 cup of softened cream cheese on medium speed for about 2 minutes until it becomes smooth and fluffy. Next, add about half of the whipped cream (¾ cup) and mix until well combined. Stir in the remaining cream, ¾ cup of sifted powdered sugar, and 1 teaspoon of vanilla extract. Increase the speed to medium-high and whip until medium-stiff peaks form, which should take about 3 minutes.
Assemble the Cake: Split the Oreos in half, scraping out and discarding the cream. Line the bottom of an 8 inch (20 cm) square pan with 16 Oreo halves, cream side up. Spread one-third of the cream cheese filling evenly over the cookies, and then drizzle one-third of the prepared chocolate ganache over that layer. Repeat this layering process two more times.
Finishing Touches: If you like, use a knife to gently swirl the top layer for visual appeal. Cover the dish tightly with plastic wrap and refrigerate for at least 6 hours (or overnight) until the Oreos soften and the flavors meld together beautifully.
Serve & Enjoy: When ready to serve, slice your Chocolate Icebox Cake and enjoy each layer with a glass of milk. Any leftovers can be stored covered with cling wrap in the refrigerator for up to 3 days.
Storing & Reheating
To store your Chocolate Icebox Cake, keep it covered in the refrigerator. It can stay fresh for up to 3 days, making it a fantastic make-ahead dessert. For longer storage, consider freezing it—just wrap it well in plastic wrap or aluminum foil and store in an airtight container for up to 3 months. When you’re ready to enjoy it, thaw it in the refrigerator overnight. Note that the texture may change slightly after freezing, so refresh it by letting it sit at room temperature for a little while before serving.
Chef’s Helpful Tips
- Avoid overwhipping the cream cheese mixture; you want a smooth filling without lumps.
- For an even richer chocolate flavor, consider adding a little espresso powder to the melted chocolate.
- Layering is key for a stunning presentation, so take your time with each step.
- To avoid a grainy texture, make sure the whipped cream is cold and the chocolate is fully melted and cooled before adding it to the mix.
- This recipe can easily be doubled for larger gatherings—just use a larger baking dish.
While this Chocolate Icebox Cake offers a deliciously indulgent dessert experience, it also leaves plenty of room for your touch. Whether you add fresh fruit, a drizzle of caramel, or even use different cookies, feel free to experiment. Each variation might surprise you!
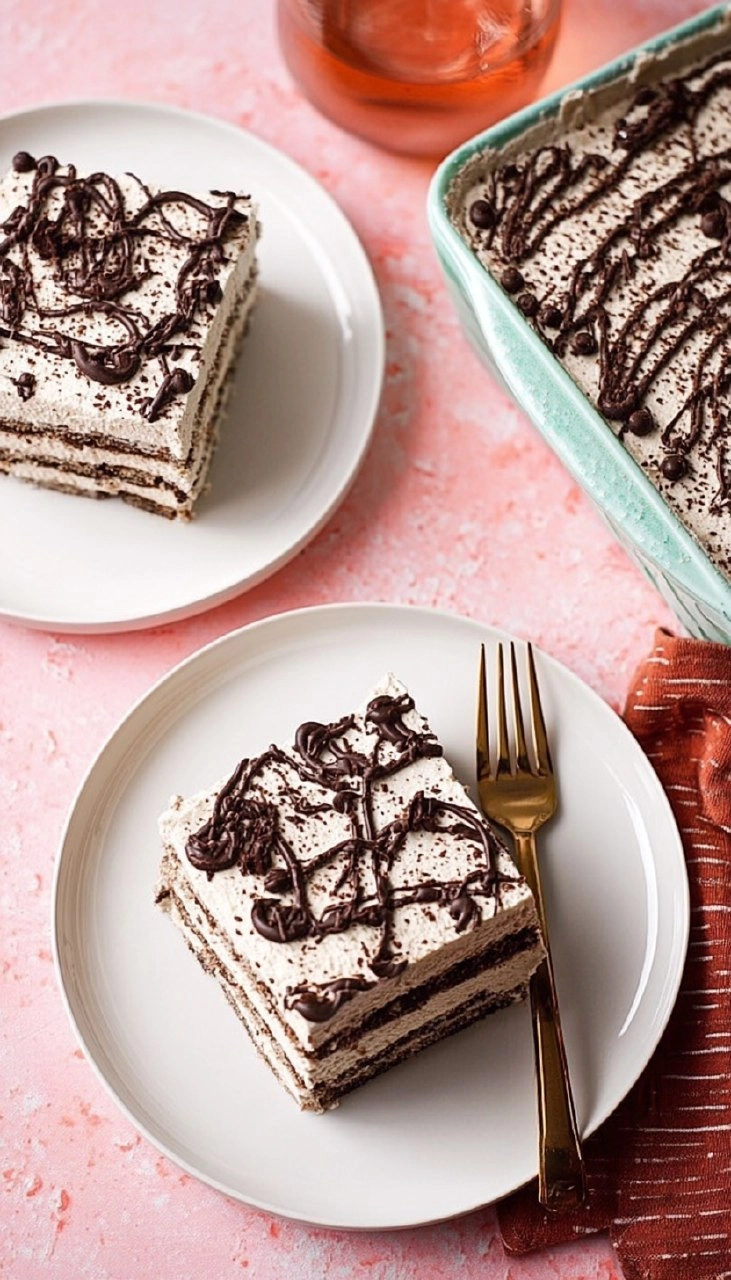
Indulging in a slice is a true treat—one that combines the richness of chocolate with the lightness of whipped cream in perfect balance. Let your creativity flow, and dive into this delightful, no-bake dessert.
Recipe FAQs
How long should I let the cake chill before serving?
Can I use a different type of cookie?
What if my cream cheese isn’t coming together smoothly?
Can I make this cake dairy-free?
⭐ If you make my Chocolate Icebox Cake recipe, Awesome! I would love to hear from you. Please give it a star rating and review below! 👇

Chocolate Icebox Cake
This Chocolate Icebox Cake combines rich bittersweet chocolate, creamy whipped topping, and Oreos for a delightful dessert that’s easy to make and perfect for any occasion. Enjoy its sweet flavors and creamy texture that will surely satisfy your sweet tooth!
- Prep Time 45 minutes
- Cook Time 405 minutes
- Yield 9 servings 1x
Ingredients
- 1 cup (6 oz/170 g) finely chopped bittersweet chocolate
- ¾ cup (6 fl oz/180 ml) heavy whipping cream
- 1 cup (8 oz/225 g) cream cheese , softened
- 1 ½ cups (12 fl oz/360 ml) heavy whipping cream
- ¾ cup (3 oz/85 g) powdered sugar , sifted
- 1 teaspoon vanilla extract
- 24 Oreos
Instructions
- Place the chopped chocolate in a small heatproof bowl.
- Heat the heavy whipping cream in a small saucepan over medium heat until it simmers.
- Pour the simmering cream over the chopped chocolate and let it sit undisturbed for 5 minutes.
- Gently stir the mixture until it is fully emulsified, then allow it to cool to room temperature.
Notes
For a richer flavor, use high-quality bittersweet chocolate.
You can chill the cake longer if you prefer a firmer texture.
Consider garnishing with additional whipped cream or chocolate shavings.
Nutrition
- Serving Size: 1 slice
- Calories: 410
- Sugar: 21g
- Sodium: 150mg
- Fat: 32g
- Saturated Fat: 19g
- Unsaturated Fat: 10g
- Trans Fat: 0g
- Carbohydrates: 30g
- Fiber: 1g
- Protein: 5g
- Cholesterol: 105mg
Nutritional information is an estimate. The nutritional values for your final dish may vary based on measuring differences and products used.